Grease buildup on kitchen cabinets is a common issue in many households. Over time, cooking vapours and airborne oils settle on cabinet surfaces, creating a sticky film that can attract dust and become increasingly difficult to remove. The challenge lies not only in lifting the grease but also in preserving the cabinet’s finish, whether it is painted, laminated, or made of natural wood. This article provides a systematic approach to tackling grease stains using ingredients commonly found at home, while considering the material and finish of your cabinets.
Understanding the nature of the grease and the surface you are working with is the first step. Different kitchen cabinet finishes react differently to cleaning agents. Water-based cleaners might be safe on sealed wood but can damage unsealed surfaces. Abrasive tools can scratch delicate laminates. Therefore, the methods described below are designed to be gentle yet effective, using common household items such as vinegar, baking soda, and dish soap. The goal is to inform you of various techniques, allowing you to choose the one that best fits your situation and the condition of your cabinets.
Preparation and Safety Measures
Before beginning any cleaning process, proper preparation is essential. Start by clearing the countertops and removing any items that might obstruct easy access to the cabinet doors and frames. This not only prevents accidents but also ensures you can apply even pressure and reach all areas thoroughly. Laying down a protective covering, such as an old towel or a plastic sheet, on the counter below the cabinets will catch any drips and simplify the cleanup afterwards.
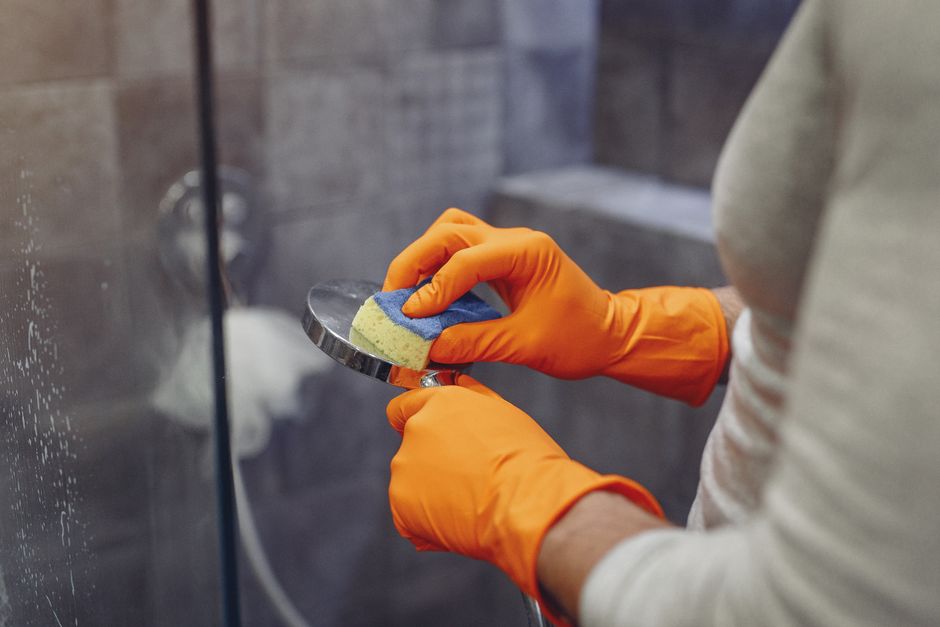
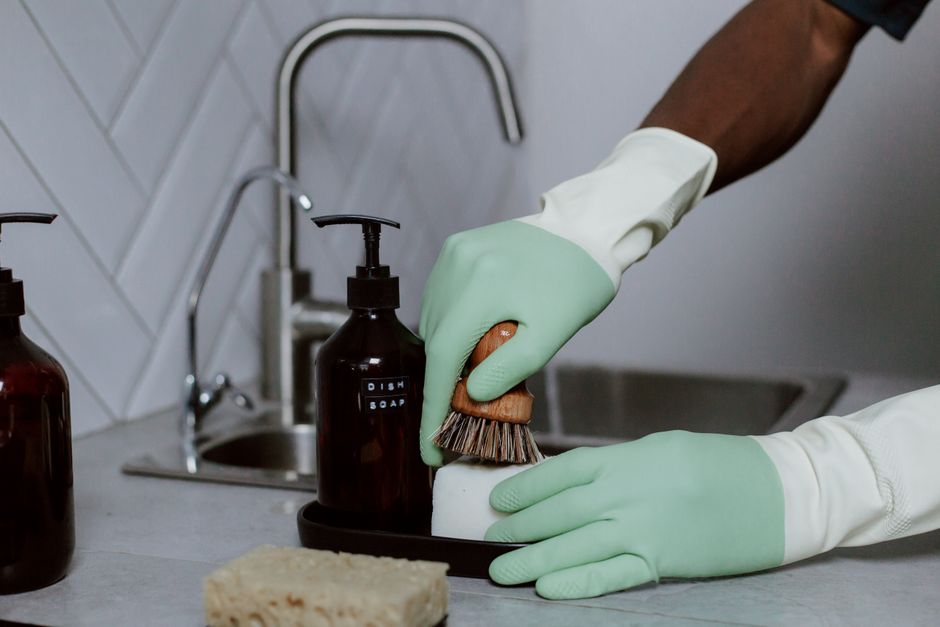
Ventilation is another practical consideration. While most household cleaning solutions are safe, it is wise to open windows or switch on an extractor fan to ensure a steady flow of air, especially when using stronger mixtures. It is also recommended to wear rubber gloves to protect your hands from prolonged exposure to cleaning agents and to avoid any irritation. For those with sensitive skin, protective eyewear might be an additional precaution. By taking these simple steps, you create a safe environment for yourself and the surfaces you are about to treat.
Choosing the Right Cleaning Solution
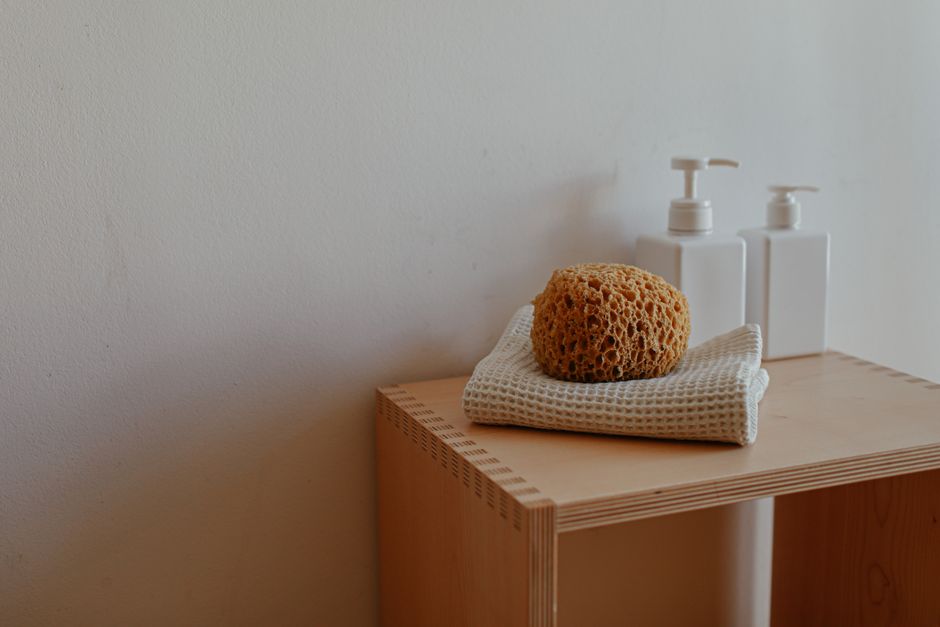
The market offers a wide range of commercial degreasers, but many homeowners prefer to use natural, readily available ingredients. A solution made from warm water and a mild dish soap is often sufficient for everyday grime. Dish soap is designed to cut through grease without being harsh, making it a safe starting point for most cabinets. Mix a tablespoon of soap into a basin of warm water, ensuring it is well diluted. Dip a soft cloth into the sudsy water, wring it out so it is damp but not dripping, and wipe the cabinet surfaces in a gentle, circular motion. Rinse the cloth frequently in clean water to avoid redistributing the grease.
For more stubborn grease, a mixture of equal parts white vinegar and water can be effective. Vinegar is a natural degreaser and leaves a streak-free finish when used correctly. Combine the two liquids in a spray bottle and shake well. Spray the solution onto the affected areas and let it sit for a few minutes to break down the grease. Then, wipe away with a clean, damp cloth. It is important to avoid saturating the cabinet, especially around edges and joints, as excessive moisture can damage the wood or cause peeling of the finish.
Baking soda serves as a gentle abrasive alternative when the grease has solidified into a stubborn layer. Create a paste by mixing three parts baking soda with one part water, adjusting the consistency to a spreadable texture. Apply the paste onto the stained areas using a soft cloth or your fingers, rubbing gently with the grain of the wood or in smooth, even strokes on laminated surfaces. Leave it on for a few minutes, then wipe off with a damp cloth. This method can be repeated if necessary for heavily soiled areas.
Application Techniques for Different Cabinet Surfaces
Cabinets come in various finishes, and each requires a slightly different approach to avoid damage. Painted cabinets, often found in modern kitchens, can be cleaned using a soft cloth dampened with a gentle dish soap solution. Avoid scrubbing too hard, as this can dull the paint over time. After cleaning, it is advisable to dry the surface with a separate lint-free cloth to prevent water spots and maintain the paint’s sheen.
Laminate cabinets are generally more forgiving and can withstand slight moisture. Still, microfiber cloths are ideal because they are effective at picking up grease without scratching. For laminate, a vinegar and water solution works well, but be mindful of the edges where liquid can seep between the laminate layers and cause bubbling. Wipe off any excess solution promptly.
Wood cabinets, whether stained or natural, are more delicate. The cleaning solution should be minimal and the wiping action gentle, always moving with the grain. For wood, a diluted solution of dish soap and warm water is safe. Alternatively, a solution of vinegar and olive oil can be used, with olive oil acting as a conditioner for the wood. Mix two parts of olive oil with one part vinegar and apply with a soft cloth. This not only removes grease but also leaves behind a subtle sheen and helps to moisturize the wood.
Handling Stubborn Stains and Dried Grease
When grease has been left on the cabinet for an extended period, it can form a sticky, hard residue that resists standard cleaning. In such instances, a penetration and softening step may be necessary. One approach is to apply a small amount of mineral oil or olive oil directly to the stained area using a cotton swab or cloth. Let it sit for several minutes to loosen the residue, then gently wipe it away. The oil aids in dissolving the hardened grease, making it easier to remove.
Another effective method involves using a commercial degreaser specifically designed for kitchen surfaces. These products often contain agents that break down tough deposits quickly. However, it is crucial to follow the manufacturer’s instructions and test the product in an inconspicuous area first to ensure it does not damage the cabinet finish. Apply the degreaser, allow it to work for the specified time, and then remove it thoroughly with clean water.
For extremely stubborn spots, you may consider using a plastic scraper or the edge of a credit card to gently lift the residue. Always use a light hand and ensure the surface is lubricated to avoid scratching. It is better to repeat the softening process several times than to risk scraping the finish.
Post-Cleaning Care and Preventive Measures
After successfully removing the grease, it is essential to provide proper care to protect the cabinets and reduce the frequency of future cleaning. Once the cabinets are dry, apply a thin layer of furniture polish or a specialised cabinet conditioner if your cabinets are made of wood. This adds a layer of protection against moisture and makes it easier to wipe off new grease in the future. For painted or laminate cabinets, ensure the surface is completely dry before replacing any items to avoid fingerprints or smudges.
Preventive measures can significantly reduce the accumulation of grease. Consider using a splatter guard or a range hood that vents to the outside to minimise the amount of airborne grease that deposits on surrounding surfaces. Regular daily or weekly wipedowns with a dry microfiber cloth can also keep oil films from building up. In addition, storing cooking oils away from the stove area can prevent accidental splashes.
While maintaining a clean kitchen is a worthwhile endeavour, it is important to remember that the effectiveness of any cleaning method depends on the specific circumstances. Changes in cleaning practices may be necessary for different types of cabinets or in high-humidity environments. The procedures described here are intended to offer guidance, not definitive solutions. HomeSmart Solutions acknowledges that results can vary, and any cleaning product should be used with caution, following the manufacturer’s instructions.